Telecom Bill: ‘Anti-Freedom of Expression’

Edit: The talks and poll about this topic has been delayed until another date later on summer.

The complete world is aware of the problems that Mexico currently has. This is due to a large list of issues like police abuse, a drug war, and a corrupt government. These issues make Mexico the most dangerous country to work as a journalist.

Now, the country faces a bigger problem that is completely killing our freedom of speech. The new telecom bill will make the government able to censor and sanction certain types of internet content that don’t fit into ambiguous concepts which are not yet defined and will be used for convenience of certain political parties. These practices are a violation to our online freedom of speech, which is an human right.

worst-thing-about-censorship


The ISPs will be able to charge for a premium internet service. Which means that net neutrality will die too.  So they’ll to limit the bandwidth or block services as they want.  An example could be, that Telmex will able to limit bandwidth and slow down Netflix to boost their own service (ClaroVideo) unless we pay an additional fee. Alternatively, ISPs may try to negotiate a deal with the service providers (for example, Comcast tried to get Netflix to pay a share).  Either way, ISPs win while everyone else loses!

You may think that this will not be an issue, but as we learned, we can’t trust the government of Mexico. They will censor anti-government protests and the activism that informs people about facts about the drug war (which are censored at TV and newspapers).

The future of this bill will be determined tomorrow (April 22). The bill requires a majority (or 65 votes) which means that the ruling party (PRI) and PVEM that usually vote together, will only need 4 extra votes from the opposing parties.

Sources: bnamericas, vice.com, sopitas, internetparatodos

Revisiting an old game, for the sake of the old times

Many years ago me and some friends used to play this game that taught us too much, gave us interest to do lots of stuff (developing things as websites, servers, scripting, etc.). So we decided to play it a little to remember those times, so here I’ll show you some screenshots I took from Dennis and I adventures. Sadly our friend Fofito wasn’t online to come to the adventure but I’m quite sure he and others will be available later.

desert
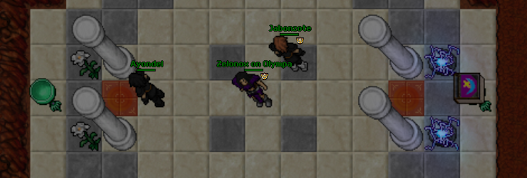
Here me and DennisTT met some great people that helped us to make the desert quest, without killing us (maybe because is a non-PvP server). So we got a nice reward.
jabonzote
Swimming a little bit on Thais south shore
riding
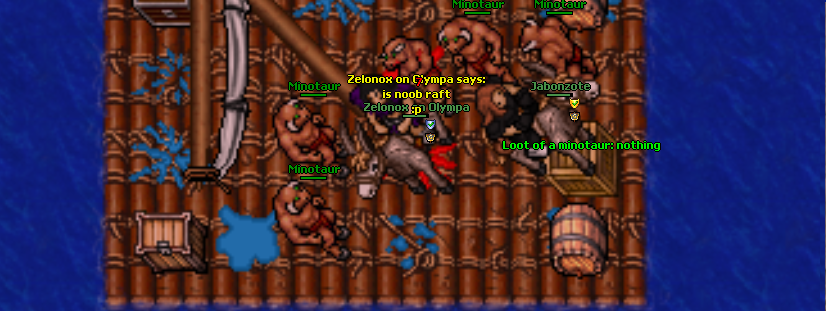
Then we lured some minotaurs and bring our donkeys to Noah’s Ark
dragon
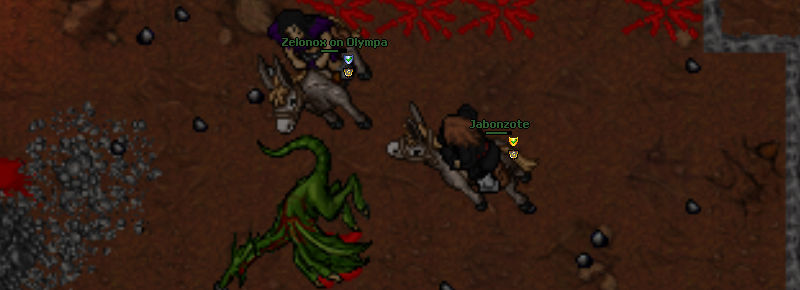
… and even killed a dangerous Dragon
jabonzote
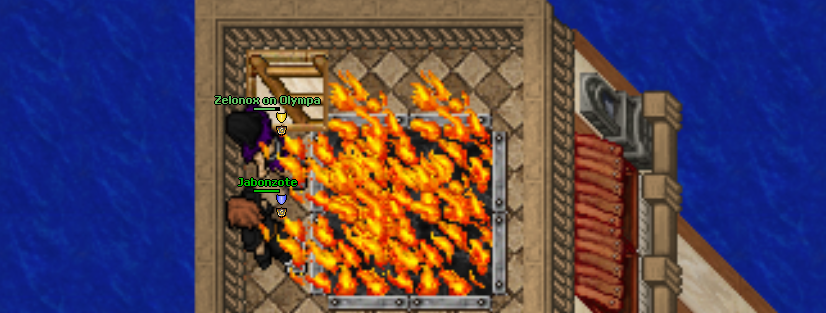
Then we went to the Thais Lighthouse to look the beautiful blue sea, and then traveled to Fibula and other places that bring us back to 2004.

Installing Windows from a USB to a MacBook with optical drive

We all know that Apple is the kind of company that likes to push users to renew their computers by limiting them using proprietary and not well documented software and hardware that restricts people from upgrading their computers, even for the users that are supposed to want this as they are doing on almost the whole of their products as the MacBook Pro – with Retina, the iMac and the Mac Pro and although I’d like to talk more about how they limit their hardware much more lately, this post is about installing Windows using Boot Camp from a USB. To read more about this new horrible new computers, you should see this post made by DennisTT.

This feature is blocked (although it works) from not that old models, so you need to modify a configuration file to make it work as any other recent model. Follow the next steps:

Step 1
Verify if your computer needs this modification, you can see this by just opening Boot Camp and seeing that there is no choice other than optical drive.

Step 2
Modifying Info.plist from /Applications/Utilities/Boot Camp Assistant.app/Contents, this can be done using the terminal by writing:

terminal

When you open nano search for PreUSBBootSupportedModels and modify it to look like this by removing Pre from the tag

USB

Now continue with the rest of the terminal command, so you will sign this new Info.plist, otherwise Boot Camp Assistant will crash when you open it. It may ask you to install an XCode addition, just click yes is an small thing.

Step 3
Open Boot Camp Assistant and see, you have this new option and you are ready to create a Windows image from OS X and the option you had before will let you install from USB.

BootCampInstall

Welcome to my new personal blog!

I’ve had this weblog since about seven years ago and I ran out of ideas of what to post for about almost the same time, so I think that making a “refresh” would fix this and maybe motivate me a little to write new things (I’m unsure about what). I been thinking about which topics I should write of, before I had some Linux, Android and OS X guides and some personal stuff, so probably I will try to explore new things to not run out of ideas as I did before.

I want to thank Dennis Tsang for providing me the hosting since some time ago, thanks!.